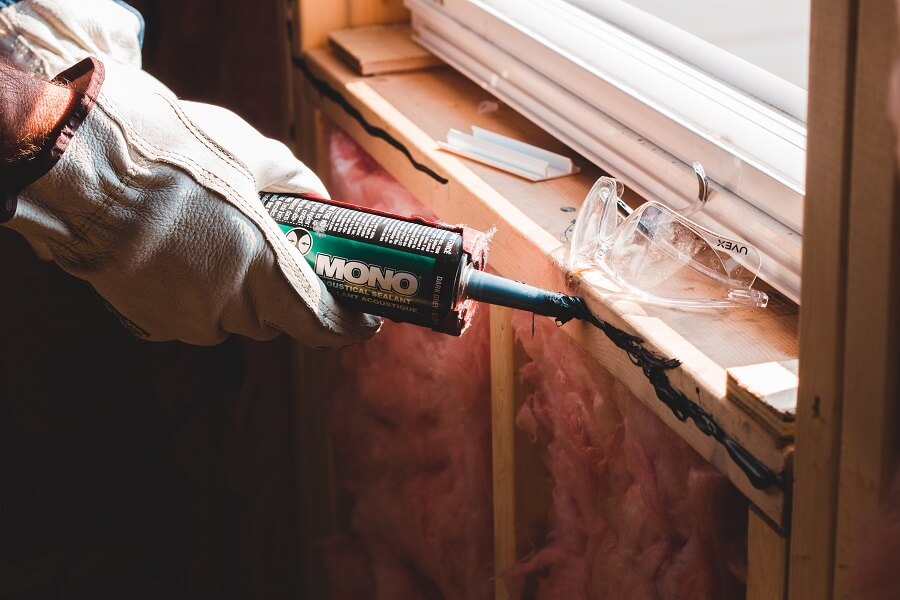
A well-maintained bathroom is not just about sparkling tiles and shiny fixtures; it's also about keeping everything sealed and protected. One often overlooked but crucial aspect of bathroom maintenance is caulking. Caulk serves as the unsung hero, creating a barrier that seals air leaks, prevents water damage, and maintains the structural integrity of your bathroom.
In this blog post, we'll delve into the purpose of caulking and provide expert tips to help you re-caulk your bathroom effectively.
Understanding the Purpose of Caulking
Caulking is more than just a cosmetic touch-up in your bathroom; it plays a vital role in preserving the longevity of your walls, floors, and tiles. Here's a closer look at its primary purposes:
- Sealing Air Leaks: Over time, gaps and cracks can develop in your bathroom, allowing drafts of air to sneak in. Caulking acts as a barrier, sealing these leaks and making your bathroom more energy-efficient.
- Protecting Against Water Damage: Bathrooms are prone to moisture, and water can seep into the smallest crevices, causing damage to the underlying structures. Caulk creates a waterproof seal, preventing water from infiltrating walls and floors.
- Maintaining Aesthetic Appeal: Beyond its functional benefits, caulking also contributes to the overall appearance of your bathroom. A neatly caulked bathroom not only looks cleaner but also prevents the growth of mould and mildew, preserving its visual appeal.
Things to Keep in Mind When Caulking
Now that we understand the importance of caulking let's explore some expert tips to ensure your re-caulking process is seamless:
- Remove Loose Caulk: Begin by softening any existing caulk using a caulk remover. This makes it easier to scrape off the old caulk, ensuring a clean surface for the new application.
- Thoroughly Scrape Off Old Caulk: Use a caulk removal tool or a putty knife to scrape off the old caulk. Take the time to remove as much residue as possible, as this will provide a better surface for the new caulk to adhere to.
- Address Mould and Mildew: Before applying new caulk, it's crucial to eliminate any existing mould and mildew. Use a mould and mildew cleaner to ensure a clean and sanitary surface.
- Use Tape for Straight Edges: Achieving straight and precise caulk lines can be challenging, especially around corners. To make this process easier, apply painter's tape along the edges where you want the caulk to be applied.
- Choose a Sealant with Mould and Mildew Protection: Opt for a high-quality caulk that includes mold and mildew protection. This helps to prevent the growth of these unsightly and potentially harmful substances in your bathroom.
- Smooth Out the Sealant: When applying the caulk, use long strokes for a consistent application. However, be mindful not to apply too much pressure, as this can result in uneven lines and an ineffective seal.
- Remove Tape After Smoothing: Once you've applied and smoothed out the caulk, remove the painter's tape promptly. Waiting for the caulk to dry before removing the tape ensures clean and straight lines.
- Ensure Proper Ventilation: Adequate ventilation is crucial in preventing moisture buildup, which can lead to mould and mildew. Consider installing exhaust fans or opening windows during and after hot showers to maintain a dry and well-ventilated environment.
- Choose the Right Caulk Type: Not all caulks are created equal. Select a caulk type that is specifically designed for bathrooms and is resistant to water and mould. Silicone-based caulks are often recommended for their durability and flexibility.
- Check for Plumbing Leaks: Before re-caulking, inspect your bathroom for any plumbing leaks. Addressing leaks promptly will prevent ongoing water damage and ensure that your newly applied caulk remains effective for a longer duration.
- Regular Inspection and Maintenance: Make it a habit to inspect your bathroom caulking regularly. Look for signs of wear, cracks, or discoloration. Promptly addressing any issues will help you avoid more extensive repairs down the line.
- Utilize a Caulk Smoothing Tool: For a professional finish, invest in a caulk smoothing tool. This tool not only helps in achieving a neat appearance but also ensures that the caulk is evenly distributed and adheres well to the surfaces.
Re-caulking your bathroom is a simple yet effective way to maintain its integrity and appearance. By following these expert tips, you can ensure a successful re-caulking project that keeps your bathroom in top-notch condition.


